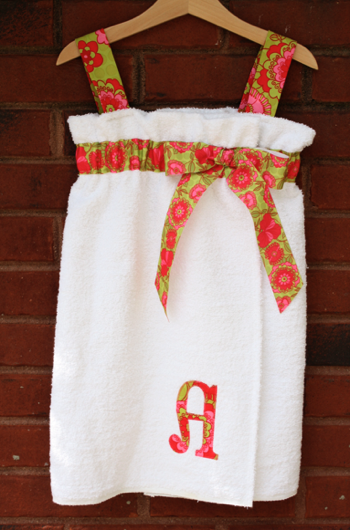
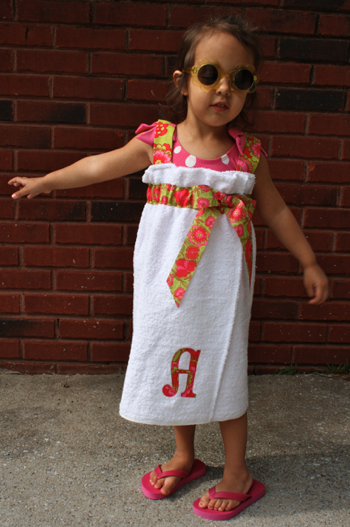
Isn’t it just precious?!
Materials (this is for a 3T/4T size, but can be worn a little longer):
1 yard terry fabric
1 spool 1.5″ ribbon
20″ of 1″ elastic
3.5″ velcro
fabric scraps
coordinating thread
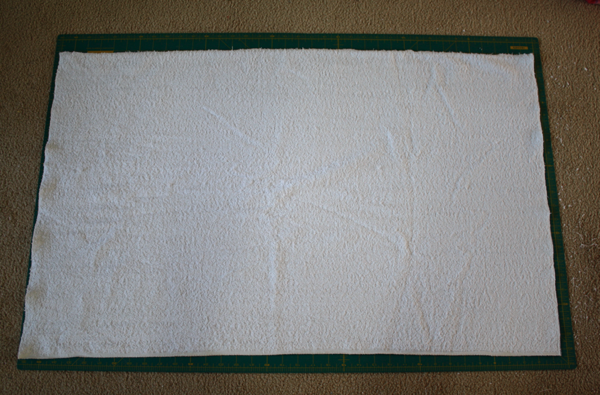
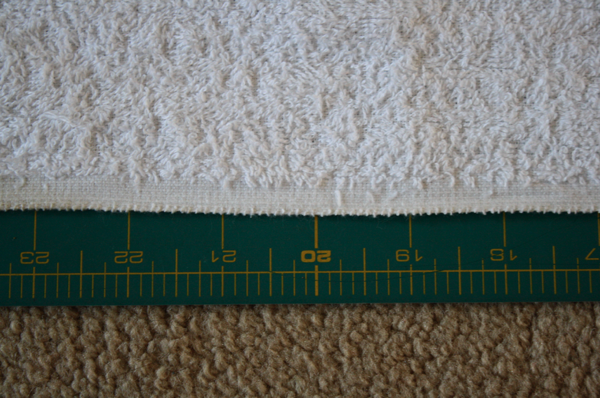
First, take the terry cloth and cut it in half width-wise, making it 23″ by 36″.
Square up the sides, but don’t cut the bottom where the fabric is finished. This will be the bottom of your cover-up.
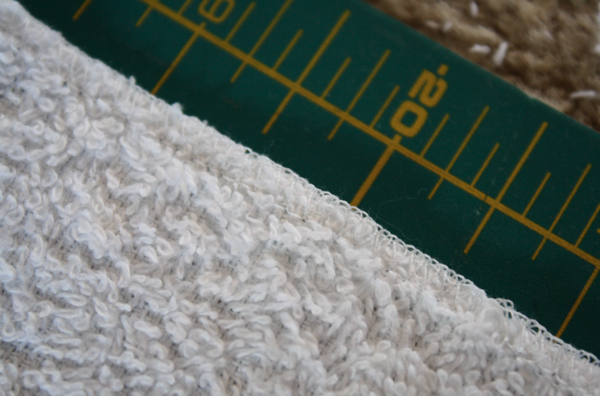
Serge around the 3 unfinished sides. If you don’t have a serger and don’t want to zigzag to finished the edges, skip this step.
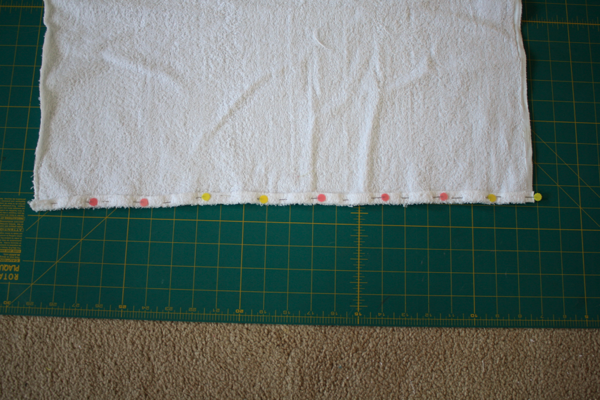
Starting on the sides, fold over 1/2″ and pin. Sew using matching thread. (if you skipped the serging step, fold over twice to enclose your raw edge)
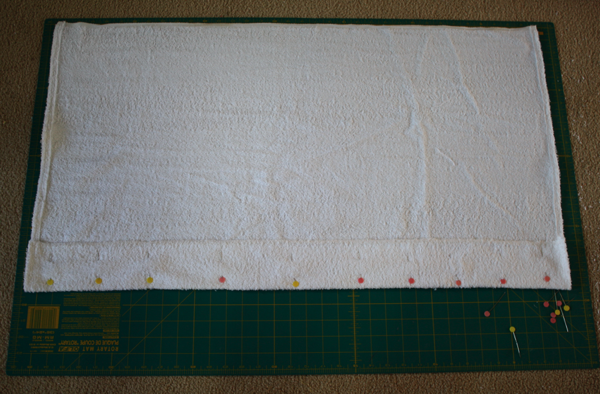
Then fold the top edge down 3″ and sew along the edge. (if you skipped the serging step, fold under 1/4″ and sew, then fold down 3″).
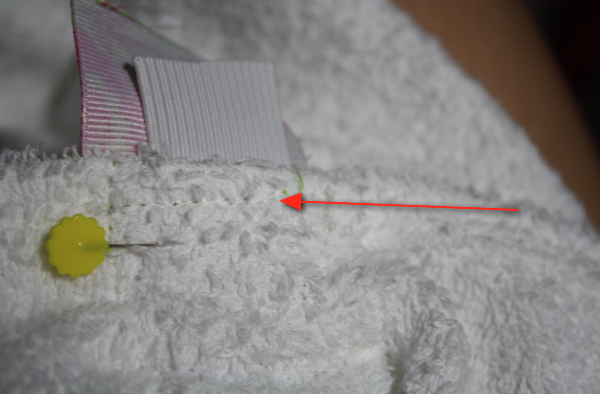
Then come up 1 1/8″ from the seam you just made and sew another one, creating a casing for your elastic.
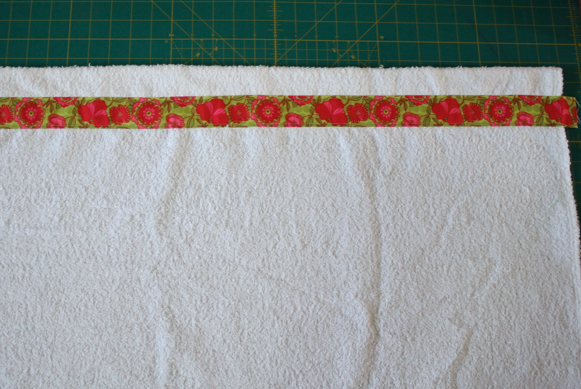
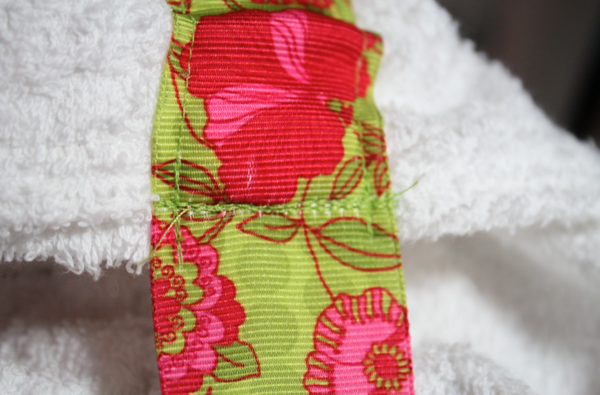
Pin and sew the ribbon down, making sure to sew on either side of the casing you just made.
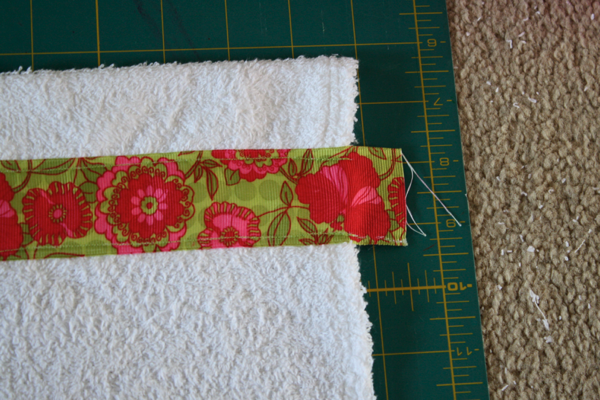
Make sure to leave at least 1 inch extra on both sides.
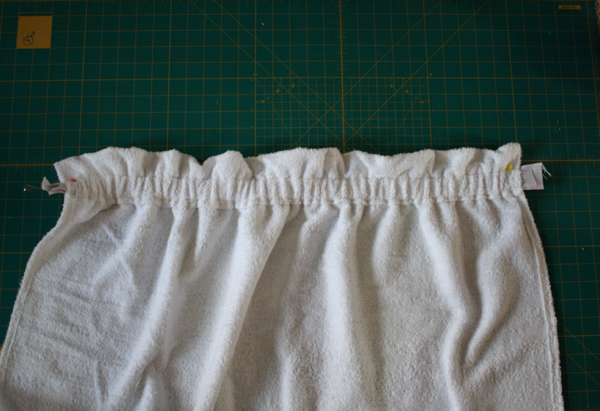
Then take your 20″ of elastic and thread it through the casing, leaving a little sticking out on each side.
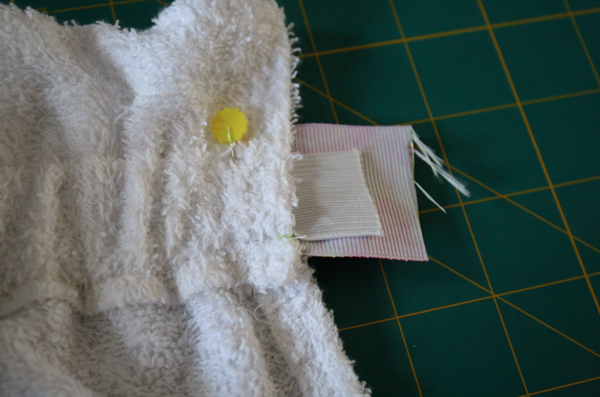
Sew 1/4″ from the edge of the cover-up to secure the elastic in place.
I used matching thread in my bobbin so the seam didn’t stick out so much.
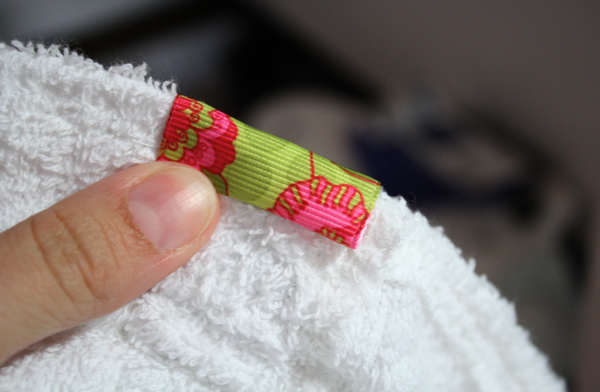
Then cut the elastic off even with the edge,
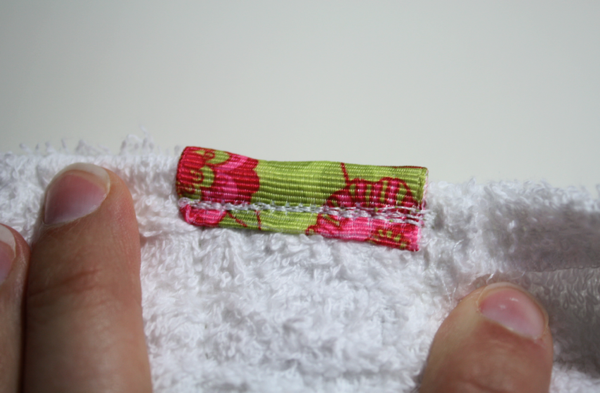
fold the ribbon over twice,
and sew in place.
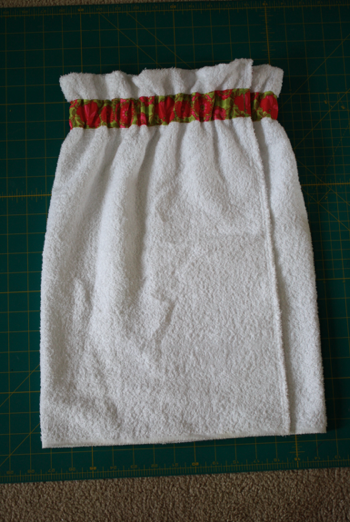
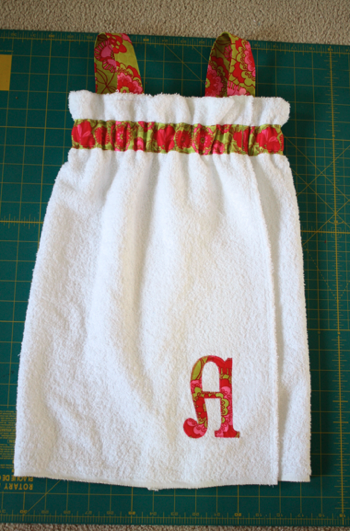
This is what your cover-up will look like so far.
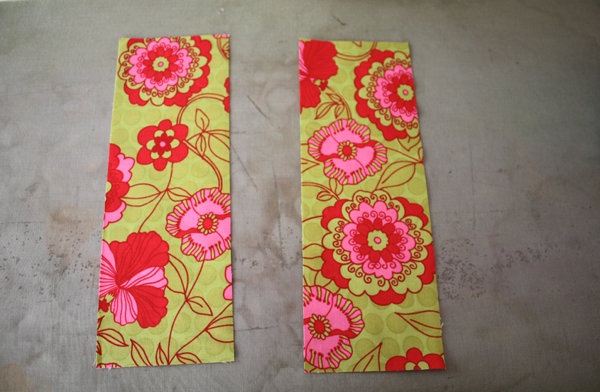
Then make your straps. I cut 2 pieces of fabric 3.5″ wide by 10″ long.
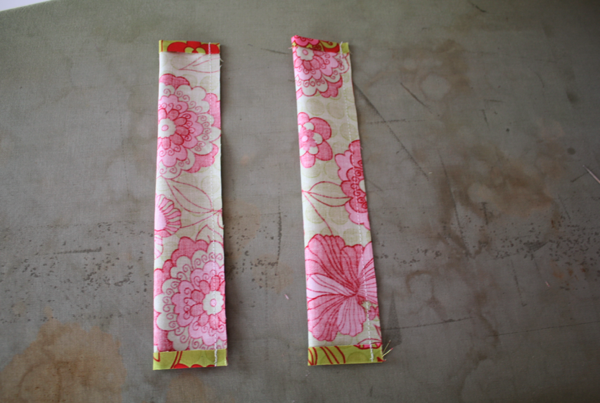
Fold each end up .5″ and iron.
Fold right sides together and sew down the length of the strap.
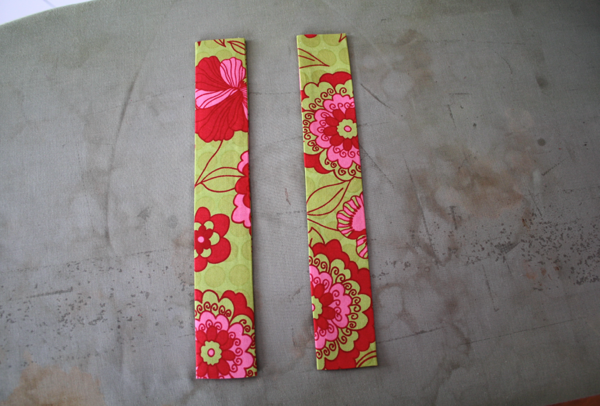
Use a safety pin to turn the straps right side out and iron flat, with the seam at the side.
To determine where to place your straps, it’s easiest to use the person you’re making the cover-up for. I used Sofie to get them approximate, then evened them out. If you don’t have someone to try it on, you’ll have to make a judgement call. Start by deciding how far you want the front piece to overlap and mark it with a pin. Then come in equal amounts from each side and place the straps. It was about 2″ for me, leaving approximately 4.5″ between the straps.
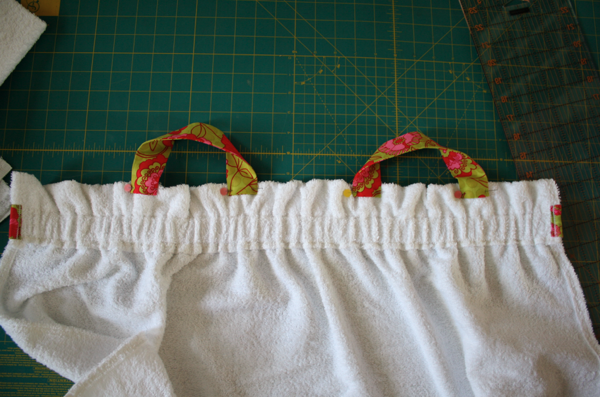
Open the cover-up up and pin the straps in place about 1/2″ down. Sew them down, using thread the color of your cover up, 1/4″ from the top edge.
Then sew an applique or other decoration to the bottom. For information on how I do applique, please visit my tutorial.
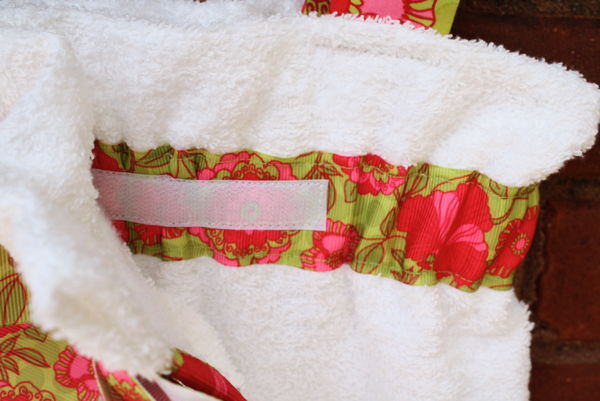
To finish the cover-up, cut a piece of velcro 3.5″ long.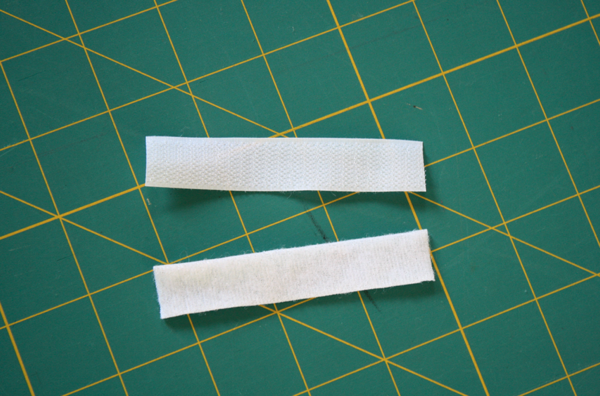
Sew the rough half of the velcro on top of the ribbon on the part of the cover-up that’s inside. I sew around it several times to make sure it’s on good.
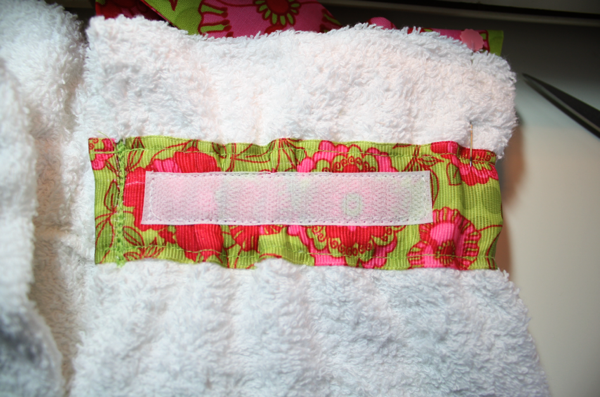
Then sew the soft side inside the outer flap of the cover-up. That way when they’re taking it off, if the velcro hits precious skin, it won’t scratch it.

Again I used matching thread in my bobbin to help the seam blend in.
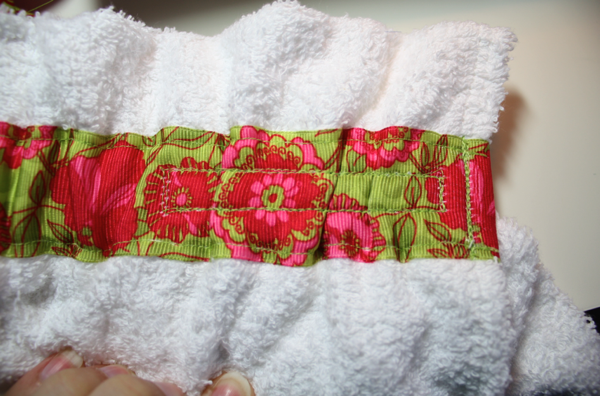
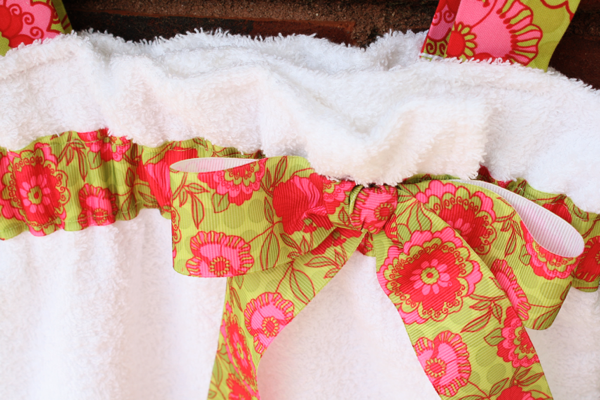
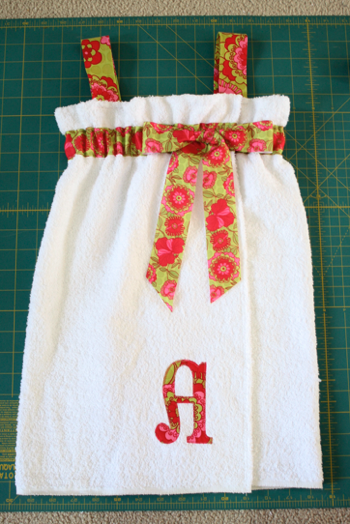
But since we want it to be pretty, a big bow would hide that velcro part perfectly! So tie a bow from the ribbon,
place it on top of the cover-up and cut the ends to the desired length,
and hand sew it in place!
Ta Da! Perfection.








No comments:
Post a Comment
Through these open doors you are always welcome