I’ve always been good at removing stains—that and parallel parking are things I would list as my best random skills. But I found a new challenge in stain removal when I dug out my older son’s baby clothes once I was expecting baby number two. My older son used to spit up terribly. A lot and everywhere. So even though I washed and thought I removed those stains before I put his clothes in storage, once I got them out I found that over time the stains had come back and yellowed, ruining most of the clothes I had put away for future babies.
But I refused to give up on the clothes without a fight. Through trial and error I found a concoction of things I already had in my home that I used to make a great DIY stain remover that really worked on those years-old dried and stored spit-up stains!

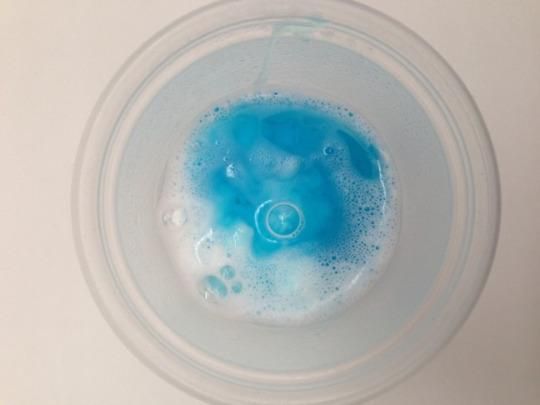
Step 1: Mix one part Dawn with two parts peroxide in your chosen container.
Step 2: Then add 1–2 tablespoons of baking soda, making a paste. Add more baking soda if too liquidy (yes, that’s a word), or more peroxide if too thick.

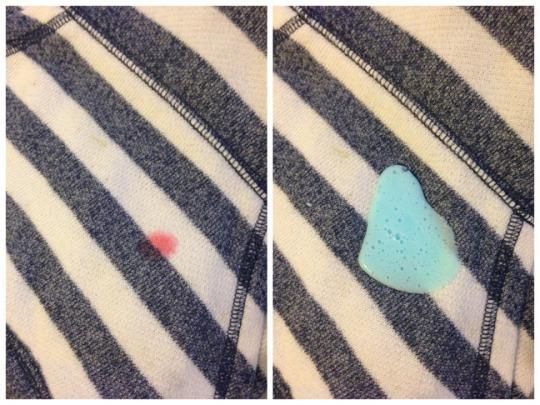
Step 1: Pour generous amount of liquid onto stain. Using a toothbrush or garment brush, rub stain remover into stain. Be sure to do the same to the underside of the garment, where stain may have bled through. It is important to treat both sides of the stain.
Step 2: Let item sit for at least an hour (more for really tough stains), and then wash according to clothing label.

If you have any left, store in an airtight container in a cool dark place. I usually make small batches each time I need it since peroxide loses its effectiveness over time. And since this is such a cheap and readily available DIY, it is easy to make over and over again!
And in case you were wondering, this magic blue mixture saved all of those baby clothes, which my new baby currently wears. So this DIY stain remover really does work!

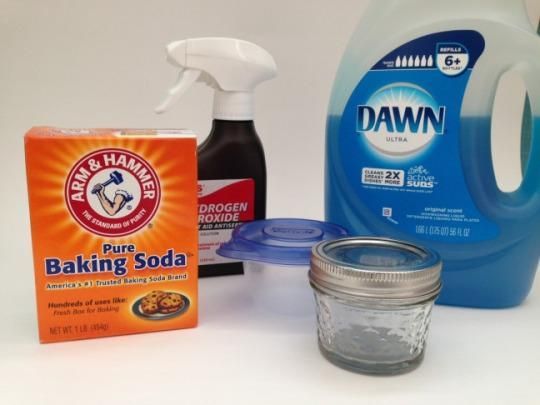
SUPPLIES:- Dawn Dish Soap (the blue kind)
- baking soda
- hydrogen peroxide
- airtight jelly jar or plastic storage container
Step 1: Mix one part Dawn with two parts peroxide in your chosen container.
Step 2: Then add 1–2 tablespoons of baking soda, making a paste. Add more baking soda if too liquidy (yes, that’s a word), or more peroxide if too thick.

HOW TO APPLY:Step 1: Pour generous amount of liquid onto stain. Using a toothbrush or garment brush, rub stain remover into stain. Be sure to do the same to the underside of the garment, where stain may have bled through. It is important to treat both sides of the stain.
Step 2: Let item sit for at least an hour (more for really tough stains), and then wash according to clothing label.

Step 3: Check clothing item to be sure stain is gone before you put it in the dryer. Dried on stains are harder to remove. Repeat process until stain is gone, then dry according to label.If you have any left, store in an airtight container in a cool dark place. I usually make small batches each time I need it since peroxide loses its effectiveness over time. And since this is such a cheap and readily available DIY, it is easy to make over and over again!
And in case you were wondering, this magic blue mixture saved all of those baby clothes, which my new baby currently wears. So this DIY stain remover really does work!


It really works ...grape / wine and most stubborn stains. , have used this method for years .
ReplyDeleteGood post and much needed .
Love PIC